Scanning Artwork on a Mac
This tutorial will walk you through scanning your artwork using any Mac computer.
-
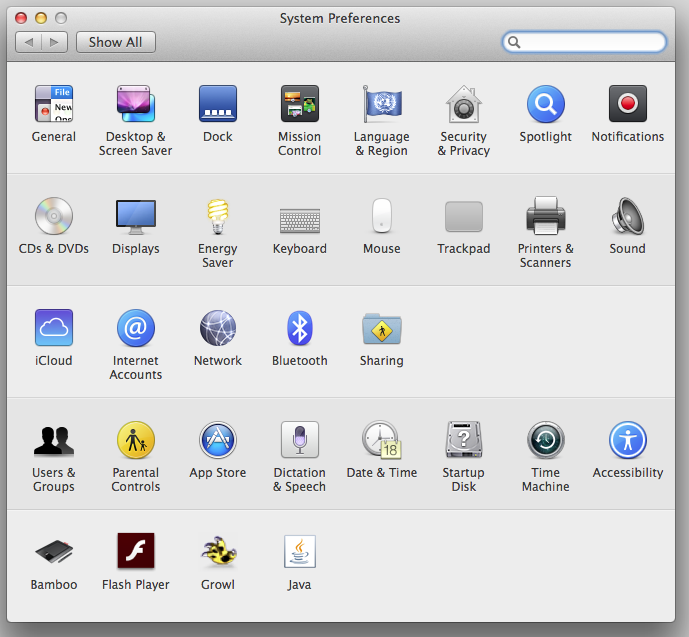
First, click on the apple icon in the upper lefthand corner and select “System Preferences.”

-
That will open a window with a bunch of icons. You want to find the one that says “Printers & Scanners.” It should look like a little printer.
-
When you click on “Printers & Scanners” it should open a window with a list of any printers or scanners that computer may be connected to. You want to select the scanner that is currently connected to your computer (make sure it’s turned on and is plugged into the computer). Then click “Open Scanner…”

-
This will open a new window. Depending on who the last person was to use the scanner, it may or may not open a window that includes fields to select and edit various aspects of your file. If not, you will see a window like the one pictured below, in which case you want to select the button “Show Details.”

-
That will bring you to a window where you can select specific details for your scan (like file size, type, etc.). This may or may not trigger an automatic overview scan. If it does not, select the button “Overview” a the bottom of the window.

-
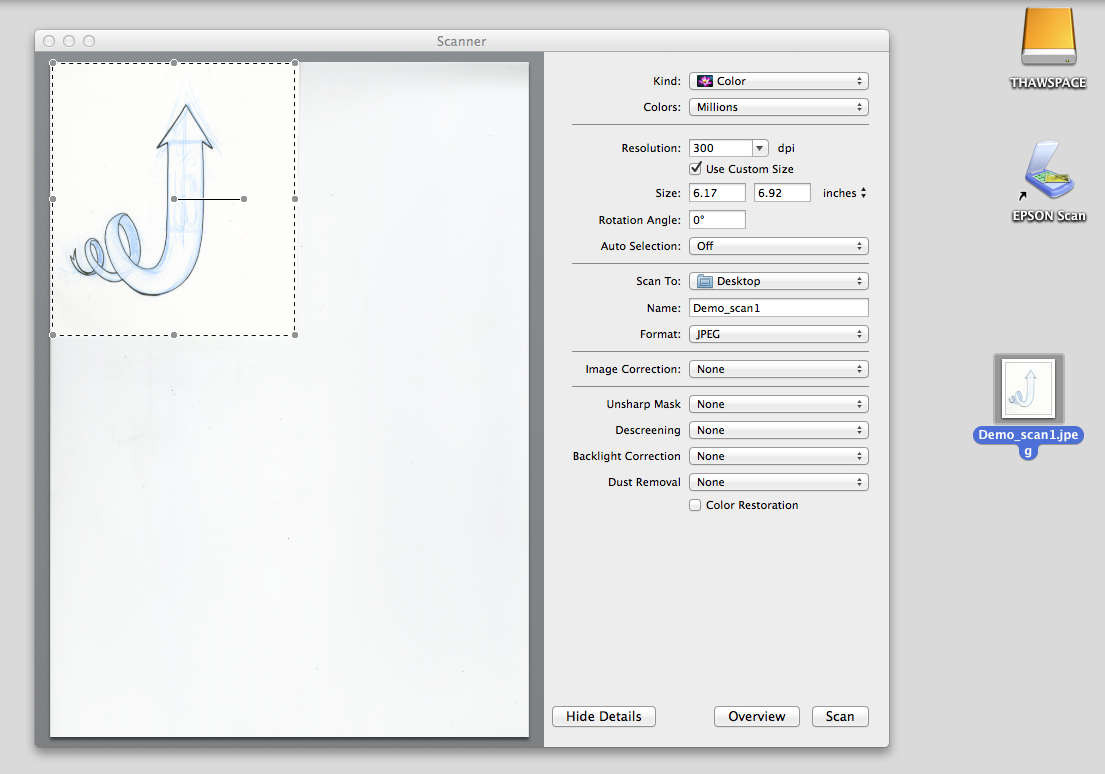
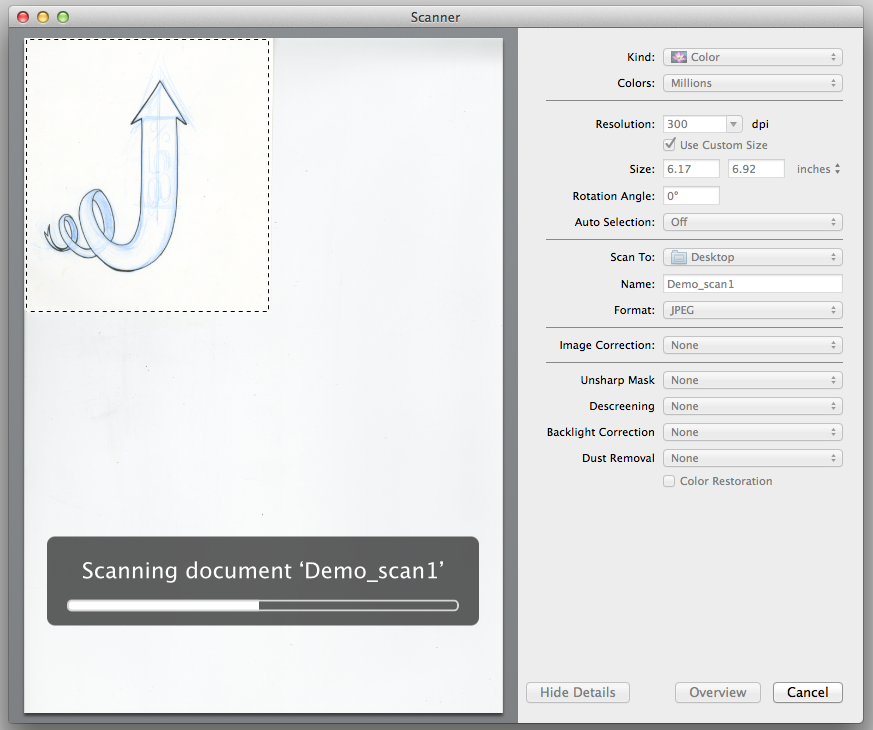
Now you want to select the specific details for your file. You will likely want to scan your image at a resolution of 300dpi or more. If you need the final file to be smaller, you can shrink it later, but you can’t make it bigger. I recommend scanning at a resolution than than what you intend your final product to be. I generally scan my own original art at 600dpi. For this example, we’ll be scanning at 300dpi.

-
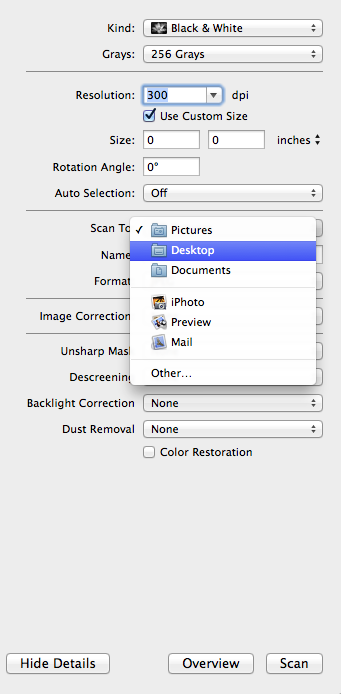
I like to scan images to the Desktop, so that’s where I’m going to set the location.
-
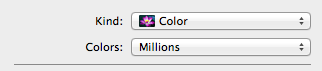
Up at the top, make sure you’re scanning in color. If you need to, you can discard the color information later, but it’s nice to have as much information in your original scan as possible.
-
Make sure to name your file something appropriate. For this demo, I chose the name Demo_scan1.

-
Select the file type you need. For this demo, I’ll be creating a JPEG.

-
Now I want to select just the area that I want to scan (otherwise, the scanner will scan the entire scanner bed). Your overview scan may have automatically selected areas it thinks you might want to scan. You can click on these boxes and hit the “delete” button to make them disappear. Then select only the area that you want to scan.

-
Once you have selected the appropriate area, click “Scan” at the bottom of the window.
-
If you told the scanner to scan to the Desktop your file will appear on the desktop of your computer. You can then drag that file into Photoshop or into whatever folder or external hard drive where you need it to go. For information on how to clean up a digital scan, see the Cleaning Up Scans of in Photoshop tutorial.