Create A Book In InDesign
So, you’ve finished the artwork for your comic and are ready to make a book! The following tutorial will show you how to set up a very basic book in InDesign. *Note: this tutorial was written in April 2018, some things may look or function differently in your version of InDesign.
-
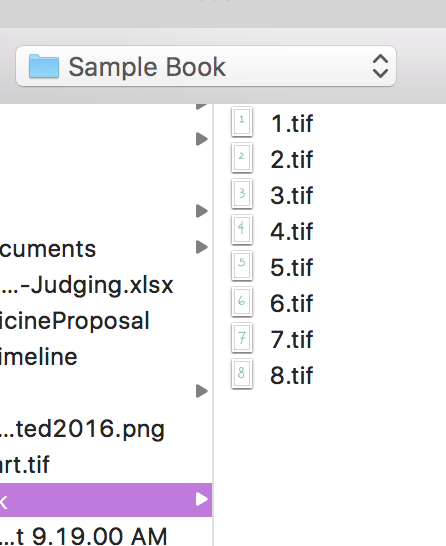
First, you’ll want to put all of the finished artwork files in a folder. Once you place your images into your InDesign document, this is where those images will be linked. If you move the files after you place the images, the links will be broken and you’ll have to place the images again. I like to keep my artwork files and my InDesign document in the folder together. Make sure your files are print quality (at least 300dpi). I recommend using TIFF files.

-
Once you open InDesign, create a new document. Adjust the width and height of the document based on the desired size of your book. My sample book will just be a regular sheet of paper folded in half, so I’ve set my size at 5.5″x8.5″. You will also need to specify the number of pages (my book will have 8). Check the “facing pages” box to create a layout of spreads. If you need to change the size or number of pages at any point while you are working on your book, you can go File>Document Setup. You can also insert pages by going to Layout>Pages>Add Page.

-
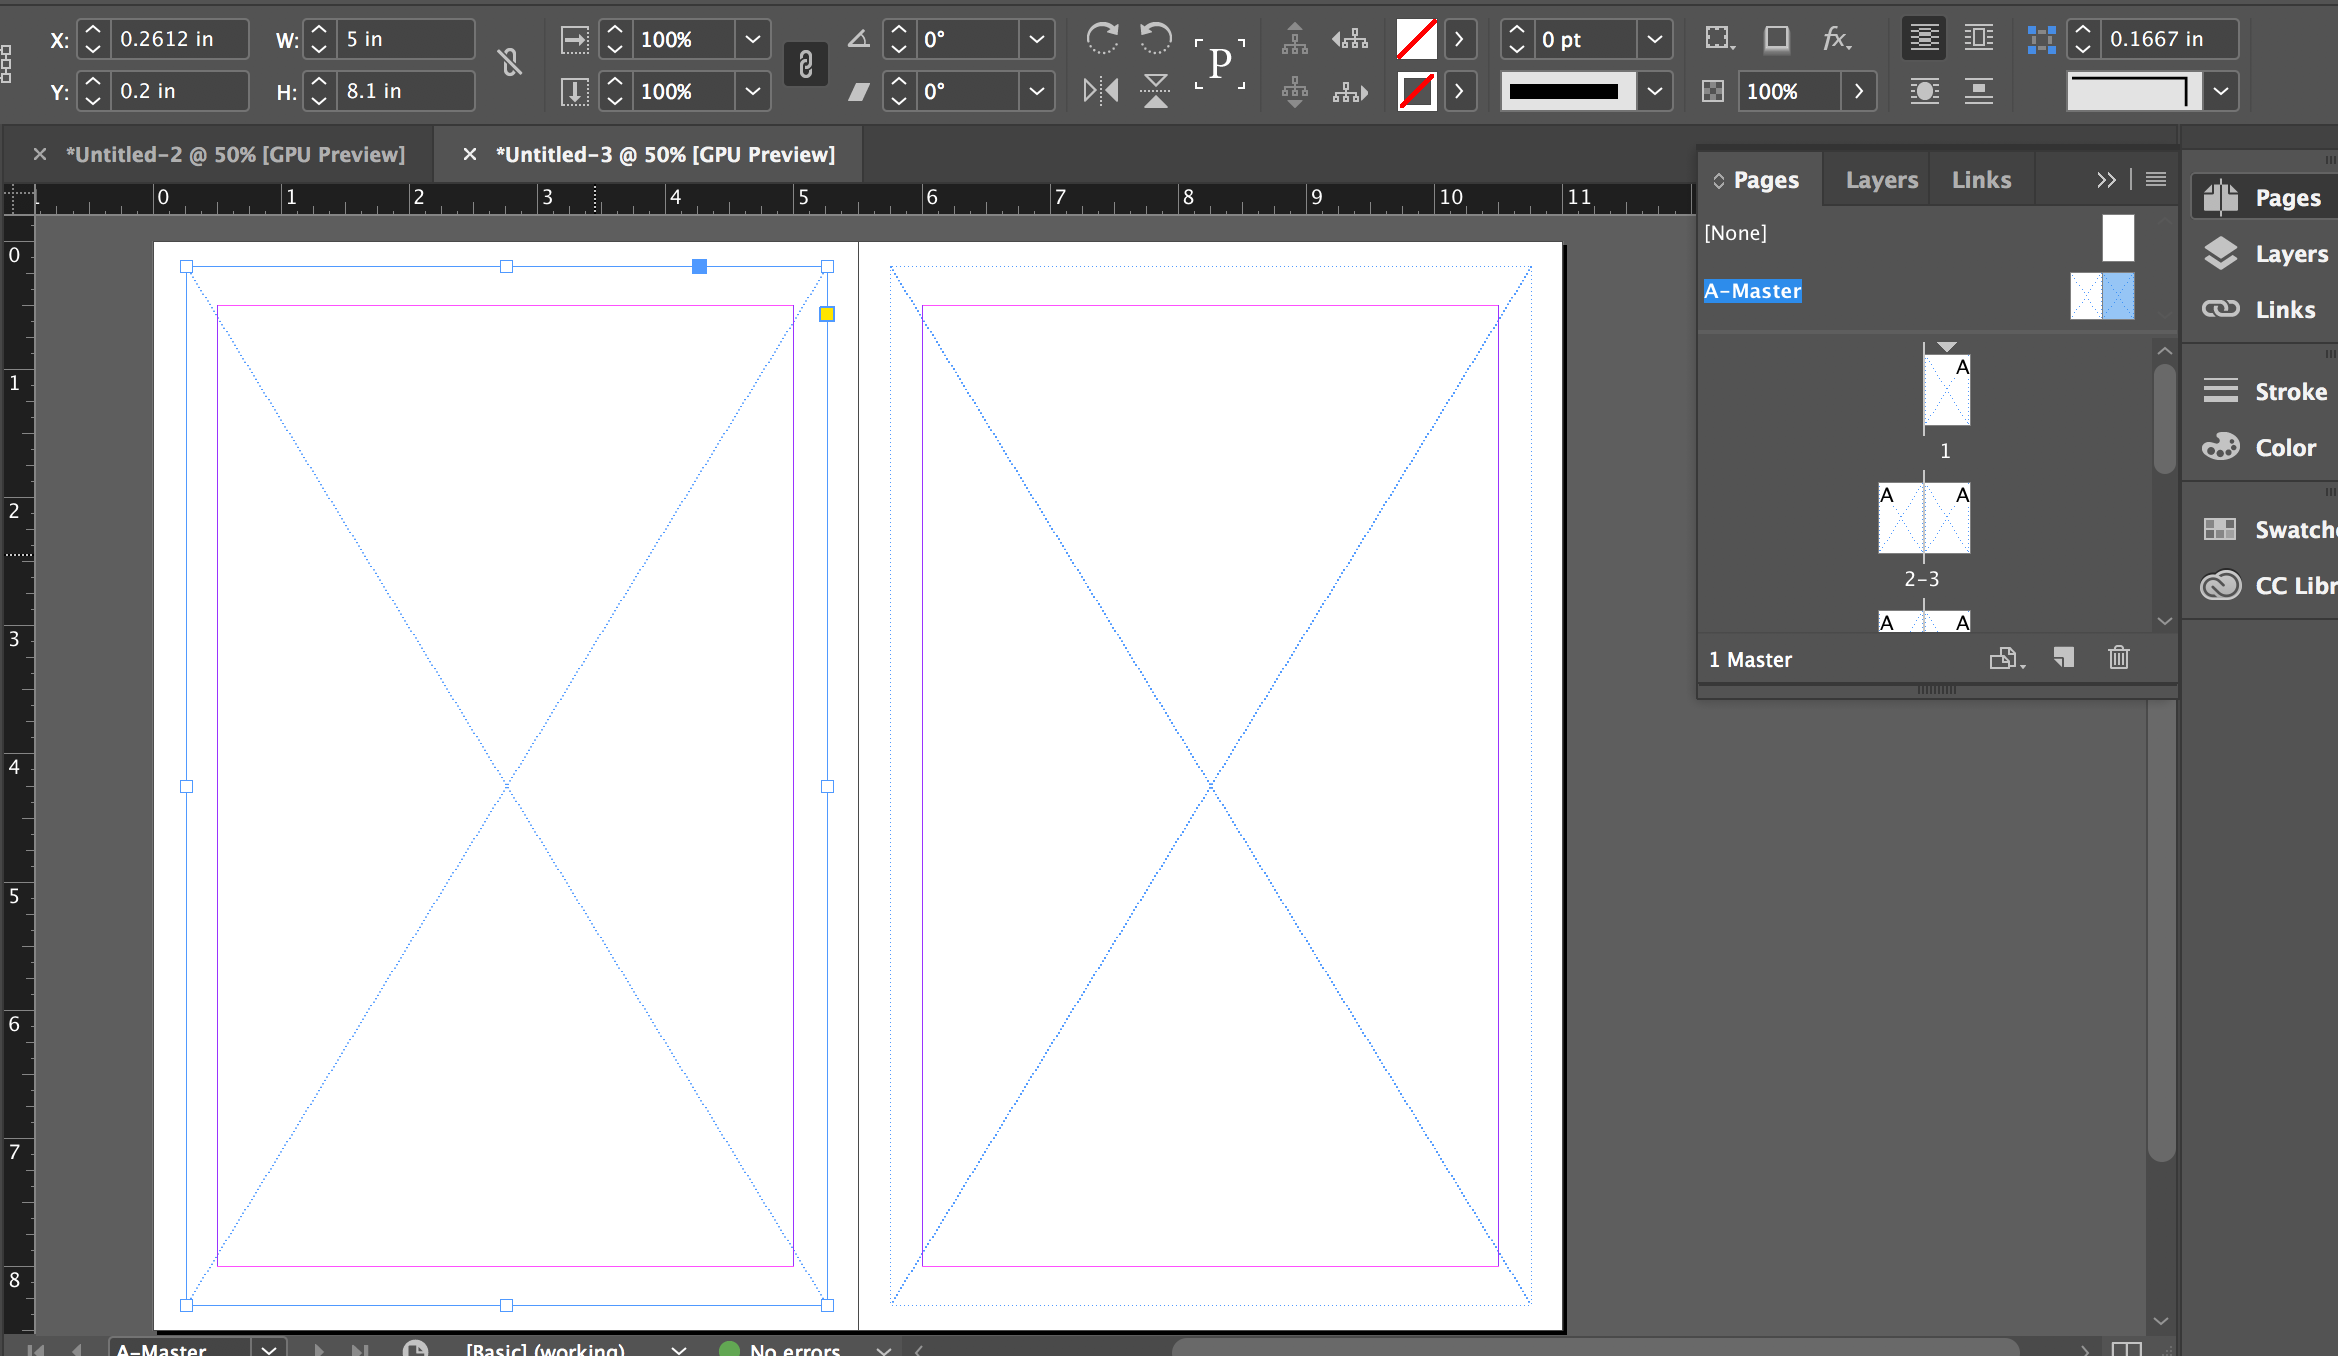
Once you’ve opened your new file (don’t forget to save and name it!) you will be able to see and scroll through your blank spreads, as well as seeing a thumbnail image of them over in the “Pages” window. Above the thumbnail images of your pages, you will see a tiny spread in the upper right corner of that window labeled “Master.” These are the master pages. Anything you put on the master pages will appear on each page of the book. Double click on the thumbnail of the master pages.

-
Now that you have the master pages on your screen, we are going to put a frame on each page where you can place your artwork later in the process. Use the “rectangle frame tool” – the little box with an X in it (keyboard shortcut F).

-
Create a frame that is approximately the dimensions of your artwork and where you want the art to appear. I’ve set my frames a safe distance away from the edges (at least 3/8″) and gutter (at least 1/2″) so that nothing will be cut off while printing.** You can make one frame, move it on the page until the guide marks light up to indicate it is centered, then copy that frame and paste to create an identical frame, which you can put on the facing page.
**If your book is going to have a bleed, and/or has very specific margin specifications, you can adjust that in Document Setup, or at the beginning of the process when you first create your document. If you have a bleed, make sure the frame you will use to place your artwork goes all the way out to the bleed. The pink/purple rectangle on your page represents the Live Area and the edge of the white (or sometimes the black line, depending on which version of InDesign you’re in) is the Trim. The Bleed will appear as a red line.
-
Now we are ready to place artwork! Go to File>Place (command-D).

-
Navigate to the folder where you have saved your finished artwork and select the appropriate file.
-
After you select your file, you will see a small preview of the file that floats with your cursor. Place the cursor over the correct page (in the frame) and click. The image will show up in the frame, but it may look a little distorted. Go to Object>Fitting>Fit Content Proportionally to fit the artwork to the frame without altering its dimensions.

-
Repeat those steps to place the appropriate artwork on each page of your book.

-
Once you have placed all your pages, you are ready to print! We are going to create a paginated (with pages ordered appropriate for printing) PDF file that you can print yourself, or take to a professional printer. To do that, go to File>Print Booklet.

-
Currently (as of April 2018) there is no way to create a PDF directly from Print Booklet, so instead we will create a PostScript file that will be distilled into a PDF later. I am designating my booklet as “2-up Saddle Stitch,” meaning it will be printed as spreads that will fold in the middle to create the book.

-
Click on “Preview” in the left column of the window. This should show you a preview of what your book will look like when it prints. For my eight page book, this means that page 8 will appear on a spread with page 1, page 2 with page 7, and so forth like this:

-

-
If that looks good, hit “Print” (if not, you may have to mess around with print setup, or document settings). When you hit print, you’ll be asked to name and save your new PostScript file. Give it the filename extension “.ps”

-
Now InDesign will create your PostScript file, this may take a minute.

-
When you have your new PostScript file, double click to open it. It should convert to PDF automatically (if not, you can try opening it with Adobe Distiller). This may also take a minute.

-
Now you should have a PDF file with paginated spreads, ready to print (double sided) and use to create your book!
Troubleshooting:
If your PDF comes out not as expected, you can adjust the settings in InDesign by navigating to File>Print Booklet>Print Settings>Setup. A common issue is the PDF not printing at the correct orientation, which can be resolved by changing the orientation of the paper in Print Settings>Setup. However, there is currently (as of April 2018) an issue with InDesign and Mac OSX 10.6 that removes the options to adjust these elements of Print Settings when you print a booklet as a PostScript using the PPD “Device Independent.” To resolve this issue, you can install a new PPD which should give you the option to make those adjustments. To download and install the new PPD, close out of InDesign, and navigate to Applications>Adobe Indesign CS5>Presets. In the presets folder, create a new folder named PPDs (this is case-sensitive). Then download Acrobat 9 PPD, and place a copy of the downloaded PPD into the folder you created.
Worst case scenario: you can paginate your document manually in the InDesign file. This may necessitate editing your Document Setup to “start on Page #: 2,” so that you only have spreads. Once you have your manually-paginated InDesign document, you can export to PDF using File>Export. If that document still comes out looking wrong, you can adjust the PDF presets by going to File>PDF Presets. Makes sure the “Spreads” box is checked.