Cleaning Up Scans In Photoshop
This is a quick tutorial on cleaning up scans of black & white line drawings. As an example, we’ll use the title lettering from a comic a drew about people who drink their own urine. If you are cleaning up a scan of a drawing that is in color (say, a watercolor drawing, for example) refer to the Digitally Adjusting Traditional Color Work in Photoshop tutorial.
-
When I first put my lettering into photoshop, I drop out my bluelines using Image>Adjustments>Black & White. (If you don’t pencil in blue, you can skip ahead through this step to where I open “Levels”).

-
I slide the “Cyan” cursor over to the right until all the lines that were originally blue (they will appear grey once you click “Black & White”) are gone.

-
Then, using Image>Adjustments>Levels, I try to get my areas of black as close to pure black as I can, and my areas of white as close to pure white as I can.

-
I like to zoom in on an area of black so I can see all of the grey tones within it. I want to slide the “Input Levels” cursor on the left over enough to where this fills in and becomes as close to an even black tone as possible.

-

-
Then, I take the cursor on the other side, and pull it over enough to make my areas of white a nice even white. It doesn’t take much.

-
Next, I’m going to want to make every single pixel of this image either black or white. If you zoom in enough, you can see that there are grey pixels that transition between the two. You want to get rid of these.

-
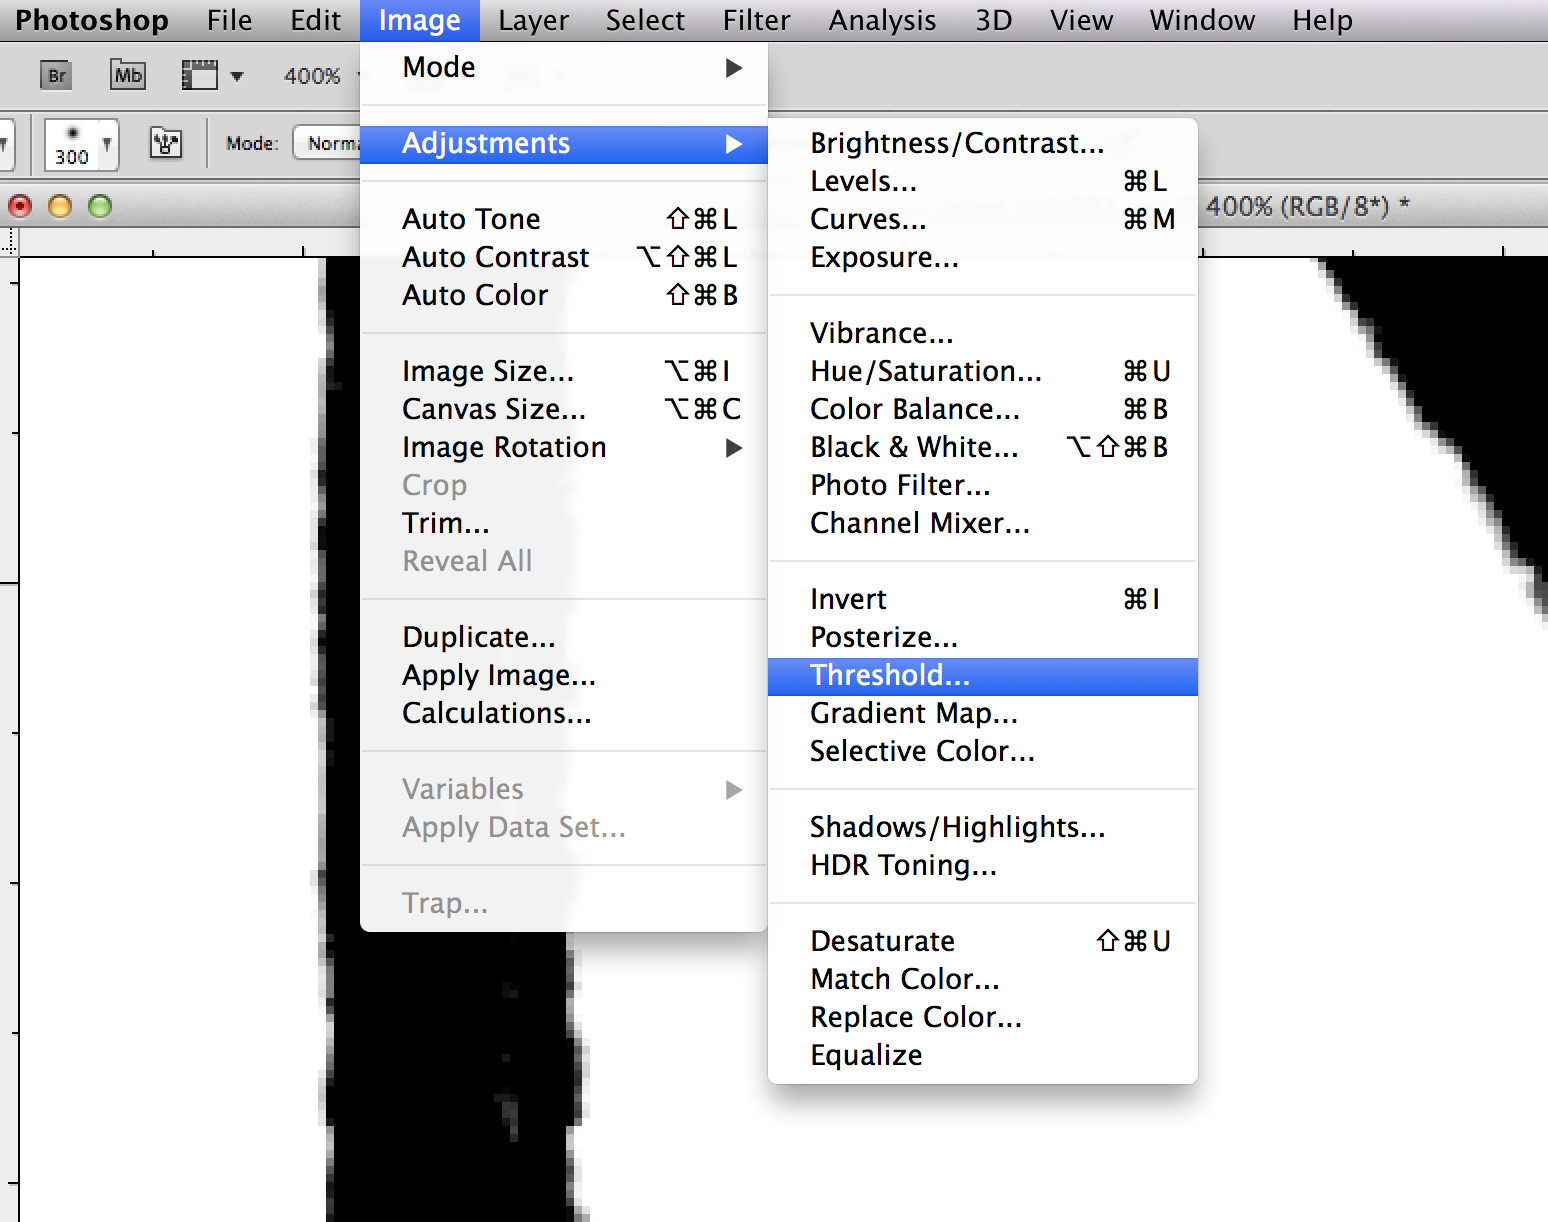
We’re going to do this by going to Image>Adjustments>Threshold. This will make every pixel either black or white. The lower your resolution is when you threshold your work, the more jagged your lines will be, and for this reason, any artwork you intend to threshold should be scanned in at a much higher resolution than the final art needs to be. I usually scan at 600dpi.
-
When you click threshold, you will see a window pop up like the one below. Don’t move the cursor, just click “OK.”

-
You may have already filled in all of your black areas using traditional tools, but in this example, I didn’t, so now I’m going to fill in the interior of all my letterforms using the paint bucket tool. First I use the eyedropper tool to select the color black. Once I’ve selected the eyedropper, and clicked on a pixel that is black, the box in the front at the bottom of my toolbar will be black. That means that’s the paint color I have currently selected.

-
Then I’ll use the paint bucket tool to fill in all of my areas that I want to be black. If I check the “contiguous” box at the top, it will only fill spaces that are confined within lines (so if I click inside the U it will fill the whole U, but nothing else). If I unclick the “contiguous” box, it will fill every pixel that is also that color (so, all the white pixels).

-
I’ll do this until every area that I want to be black is black. At this point, you may also want to go through super zoomed in to make sure you don’t have any stray pixels of white inside the black, or black pixels in the white areas. Clean it up as much as possible.
